Wall tiles add elegance and functionality to spaces like kitchens, bathrooms, and living rooms. However, like any other part of your home, they require maintenance to keep their beauty and durability intact. This guide will walk you through easy DIY care and repair tips to ensure your wall tiles remain in top-notch condition for years to come.
Overview of Popular Wall Tile Sizes
The various wall tile sizes have different uses, and details in each will contribute to proper maintenance:
1. 250 x 750 mm: This is ideal for sleek and modern appearances and thus finds great applications in living areas or big kitchens.
2. 300 x 600 mm: A versatile size to use in kitchens, bathrooms, and accent walls.
3. 300 x 450 mm: It is a practical yet at the same time elegant solution for bathrooms and backsplashes.
4. 250 x 375 mm: Perfect for small areas because of their convenient size.
5. 200 x 300 mm: The most ordinary size for minor bathrooms and classic interiors.
6. High-Depth Tiles - 300 x 600 mm, 300 x 450 mm: The following formats allow texture finishes that give depth and style to walls. However, they may require special attention regarding the accumulation of dirt in grooves.
Each size and style have different ways of care to maintain their finish and durability.
Why Proper Tile Maintenance Matters?
Wall tiles beautify your area and provide care to the wall from moisture and wear. Regular maintenance keeps them looking new and ensures a longer lifespan. Any negligence can lead to mold growth, discoloration of walls, or cracks, which are very costly in terms of repair costs. Also, clean tiles mean a healthy atmosphere with fewer allergens and less bacteria buildup, especially in grout lines.
1. Routine Cleaning for Wall Tiles
A consistent cleaning routine is the cornerstone of maintaining wall tiles. Clean tiles not only look great but also prevent long-term damage caused by dirt and stains.
Daily and Weekly Cleaning
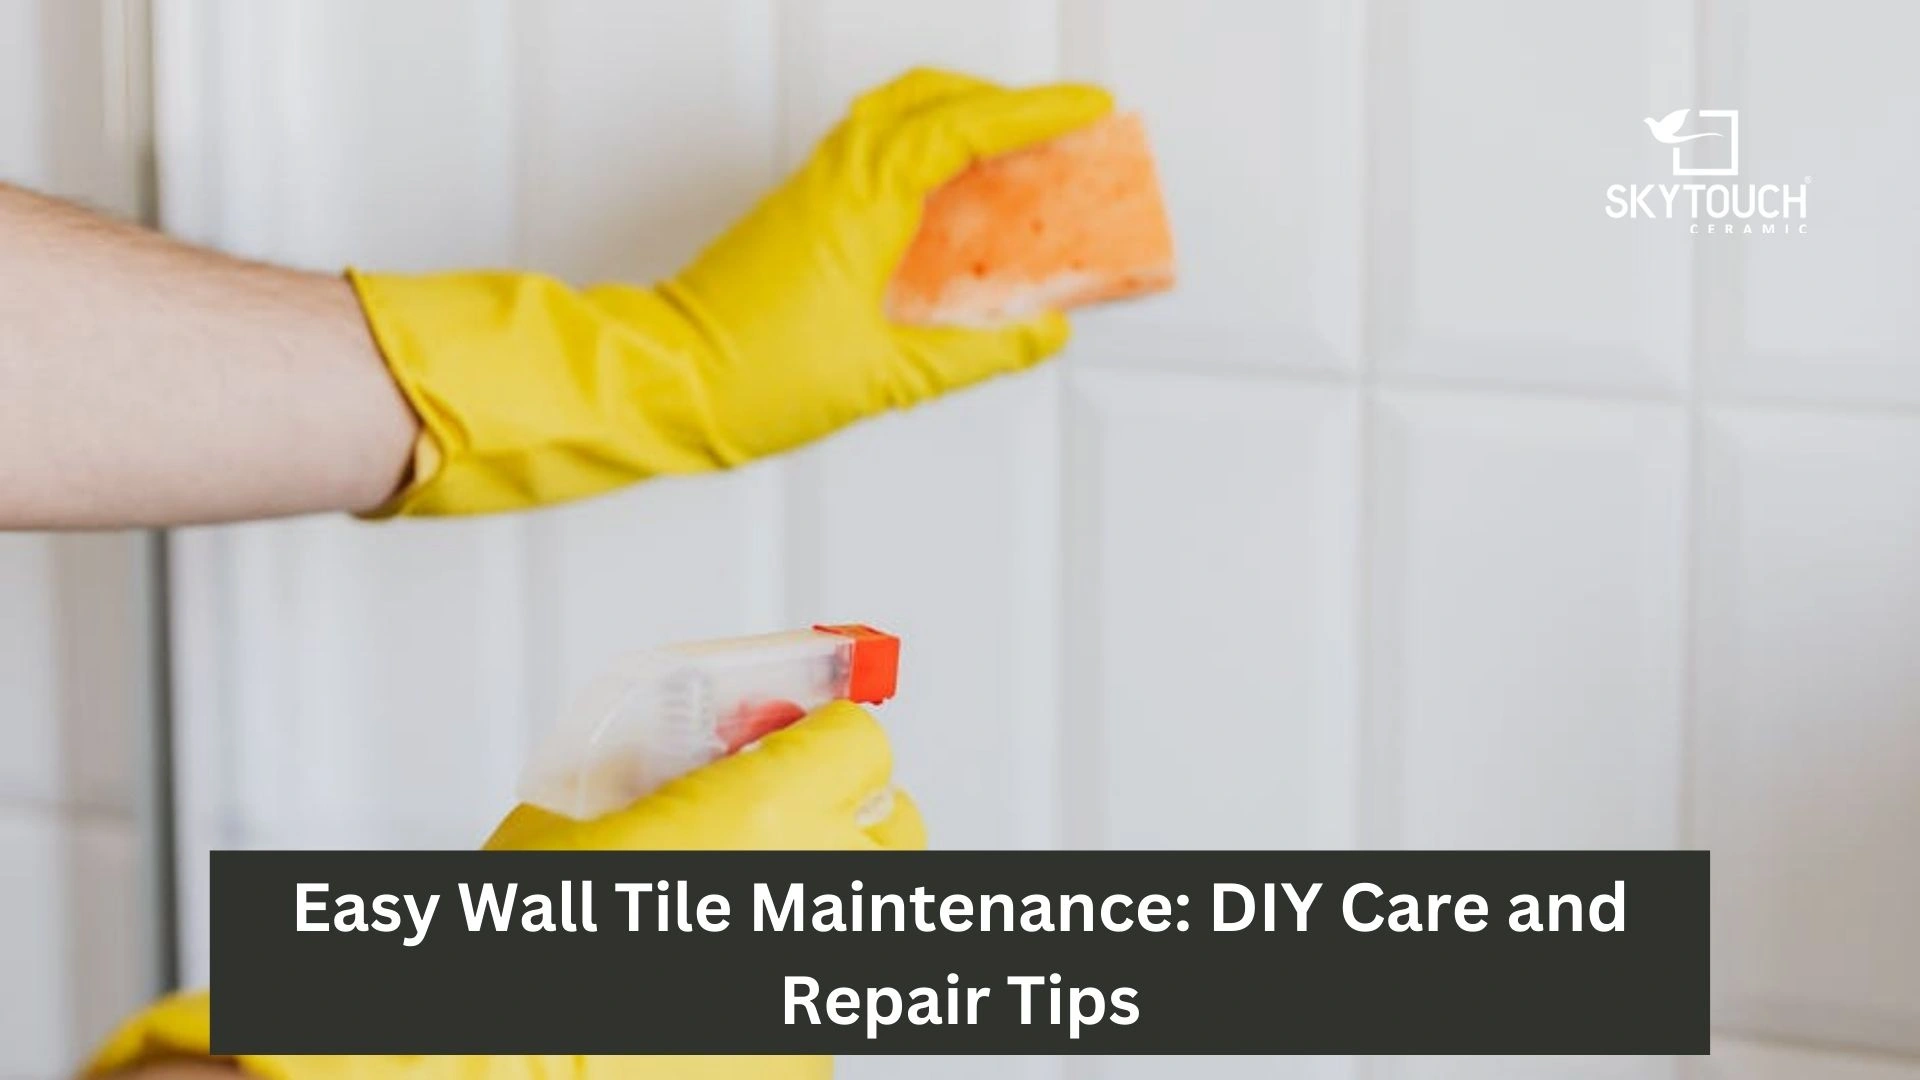
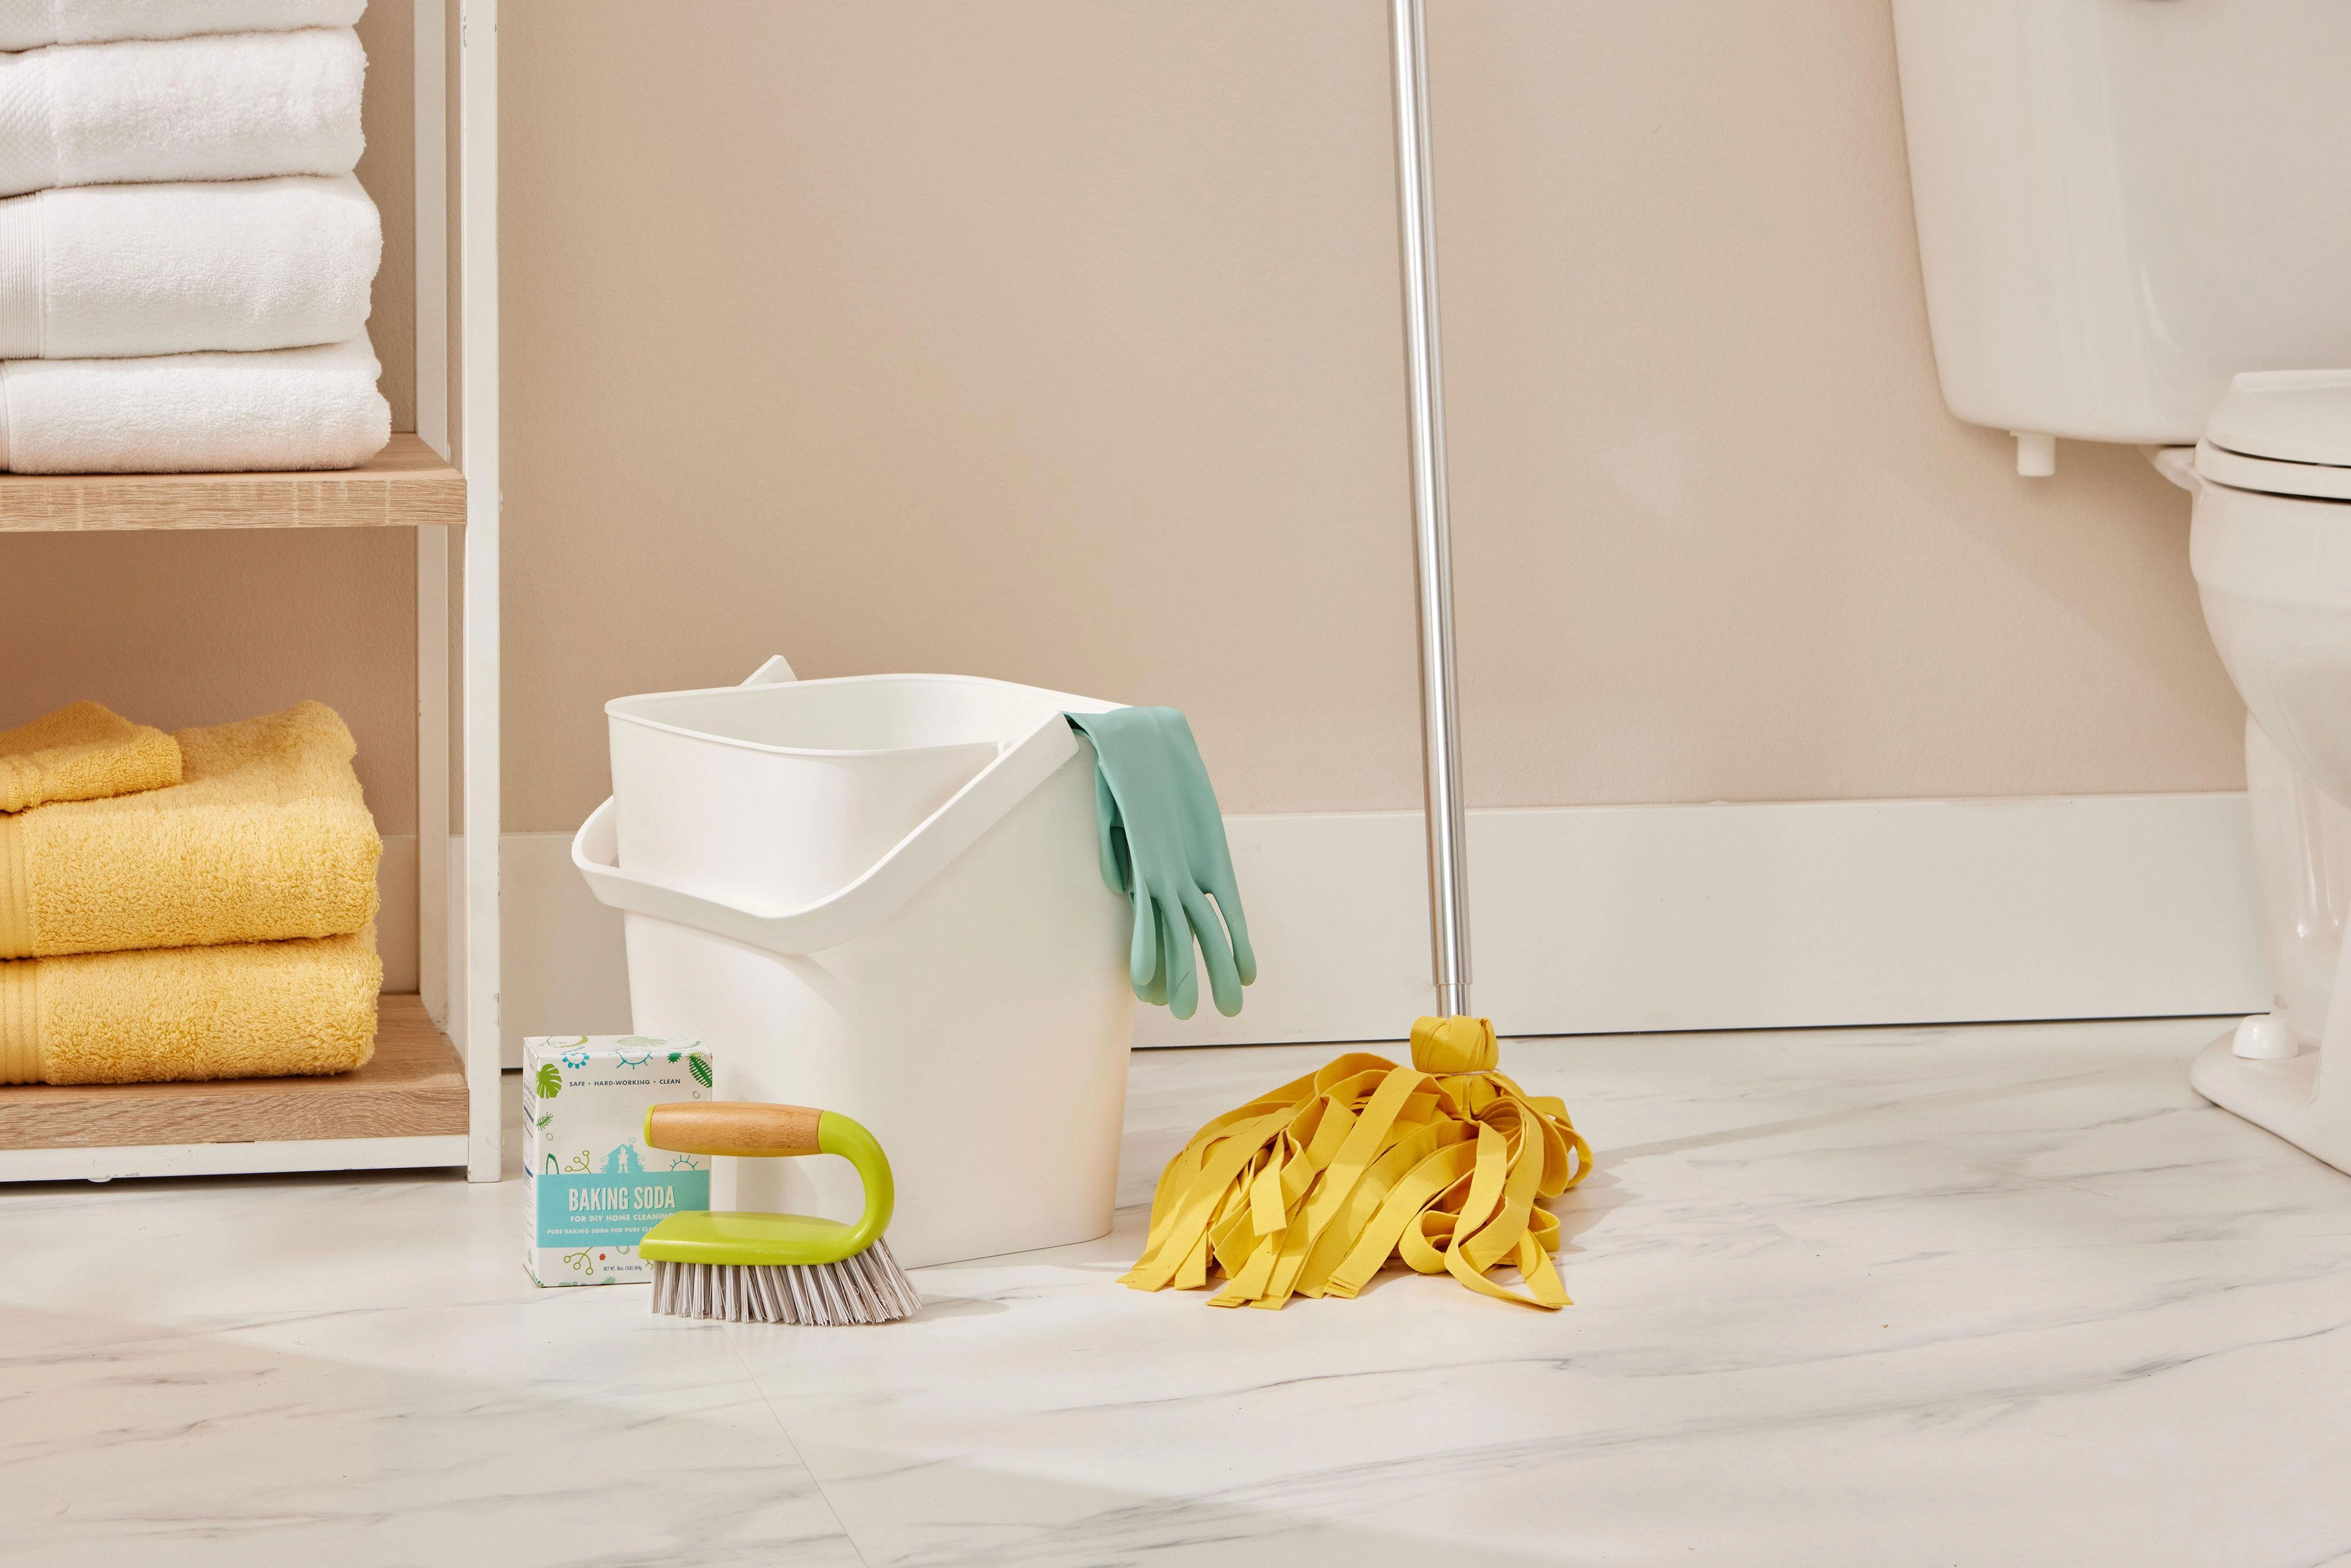
Mild dish soap, a soft sponge or microfiber cloth, warm water, and a dry towel.
• Mix a few drops of mild dish soap in a bucket of warm water.
• Dip the sponge or cloth in the solution and gently wipe the tiles to remove dirt and grease.
• Rinse with clean water and dry with a towel to prevent water spots.
Deep Cleaning for Stubborn Stains
Baking Soda Paste: For tough stains, mix baking soda with water to form a thick paste. Apply it to the stain, let it sit for 15-20 minutes, and scrub with a soft brush.
Vinegar Solution: Combine equal parts of white vinegar and water in a spray bottle. Spray the solution on the tiles, let it sit for 5-10 minutes, and wipe clean.
Avoid Harsh Cleaners
Abrasive cleaners or scouring pads can scratch tiles and strip their glaze. Opt for non-abrasive solutions that are gentle on the tile surface.
2. Maintaining Grout Lines
Grout is an integral part of tiled surfaces but often the most neglected. Dirty or damaged grout can diminish the overall look of your wall tiles.
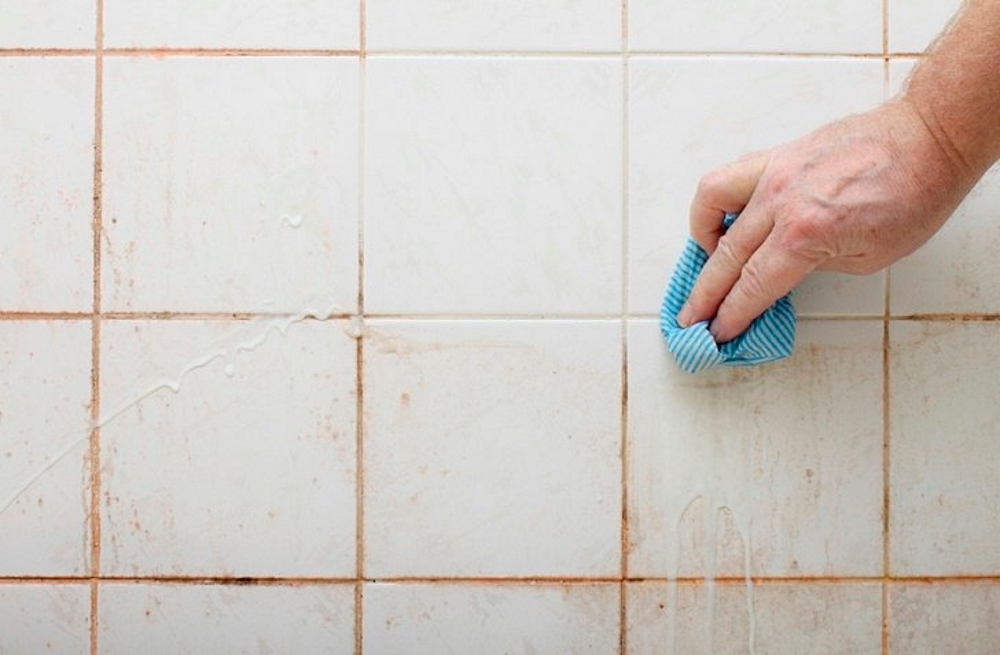
Cleaning Grout
DIY Grout Cleaner: Mix 1 part baking soda, 1 part hydrogen peroxide, and a few drops of dish soap. Apply the mixture to the grout lines and scrub with a toothbrush.
For Mold and Mildew: Use a solution of bleach and water (1:10 ratio) or a commercial grout cleaner to tackle mold. Ensure proper ventilation during this process.
Sealing Grout
Grout sealer creates a protective barrier against moisture and stains.
How to Apply:
• Clean the grout thoroughly and let it dry.
• Apply the sealer using a small brush or applicator bottle.
• Wipe off excess sealer from the tiles before it dries.
• Repeat this process once a year to keep grout in excellent condition.
3. Preventing Damage
Prevention is better than cure, and taking proactive measures can save you from costly repairs down the line.
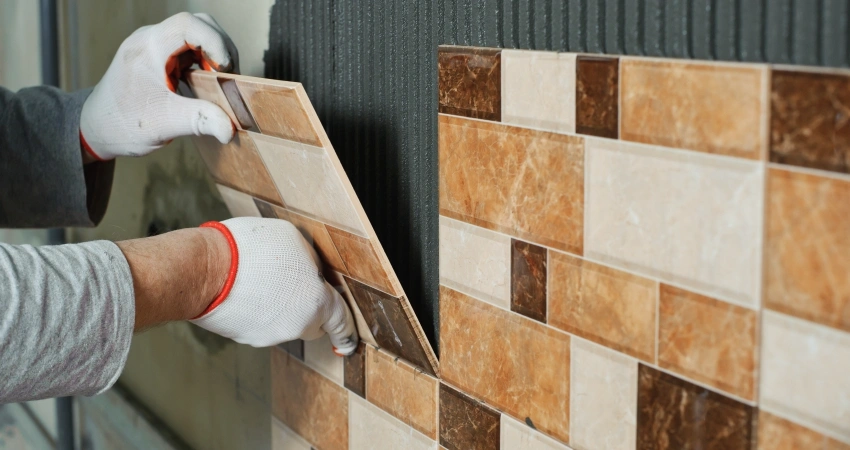
Fix Loose Tiles Early
Loose tiles are often a sign of weakened adhesive. Address the issue immediately to prevent tiles from falling or breaking.
DIY Fix:
• Remove the tile, clean the adhesive residue, and reapply fresh adhesive.
• Use spacers to ensure proper alignment before reapplying grout.
Minimize Scratches and Chips
Protect Tile Surfaces: Use protective pads on furniture edges that may come into contact with tiled walls.
Avoid Impact: Be cautious when moving heavy objects or hanging items near tiled areas.
Control Moisture Levels
Excessive moisture is a common cause of mold, mildew, and grout damage.
Tips for Bathrooms and Kitchens:
• Install a vent fan to reduce humidity.
• Wipe down tiled walls after showers or cooking sessions.
4. DIY Repairs for Wall Tiles
Accidents are inevitable, but minor tile damages are easy to fix with a little DIY effort.
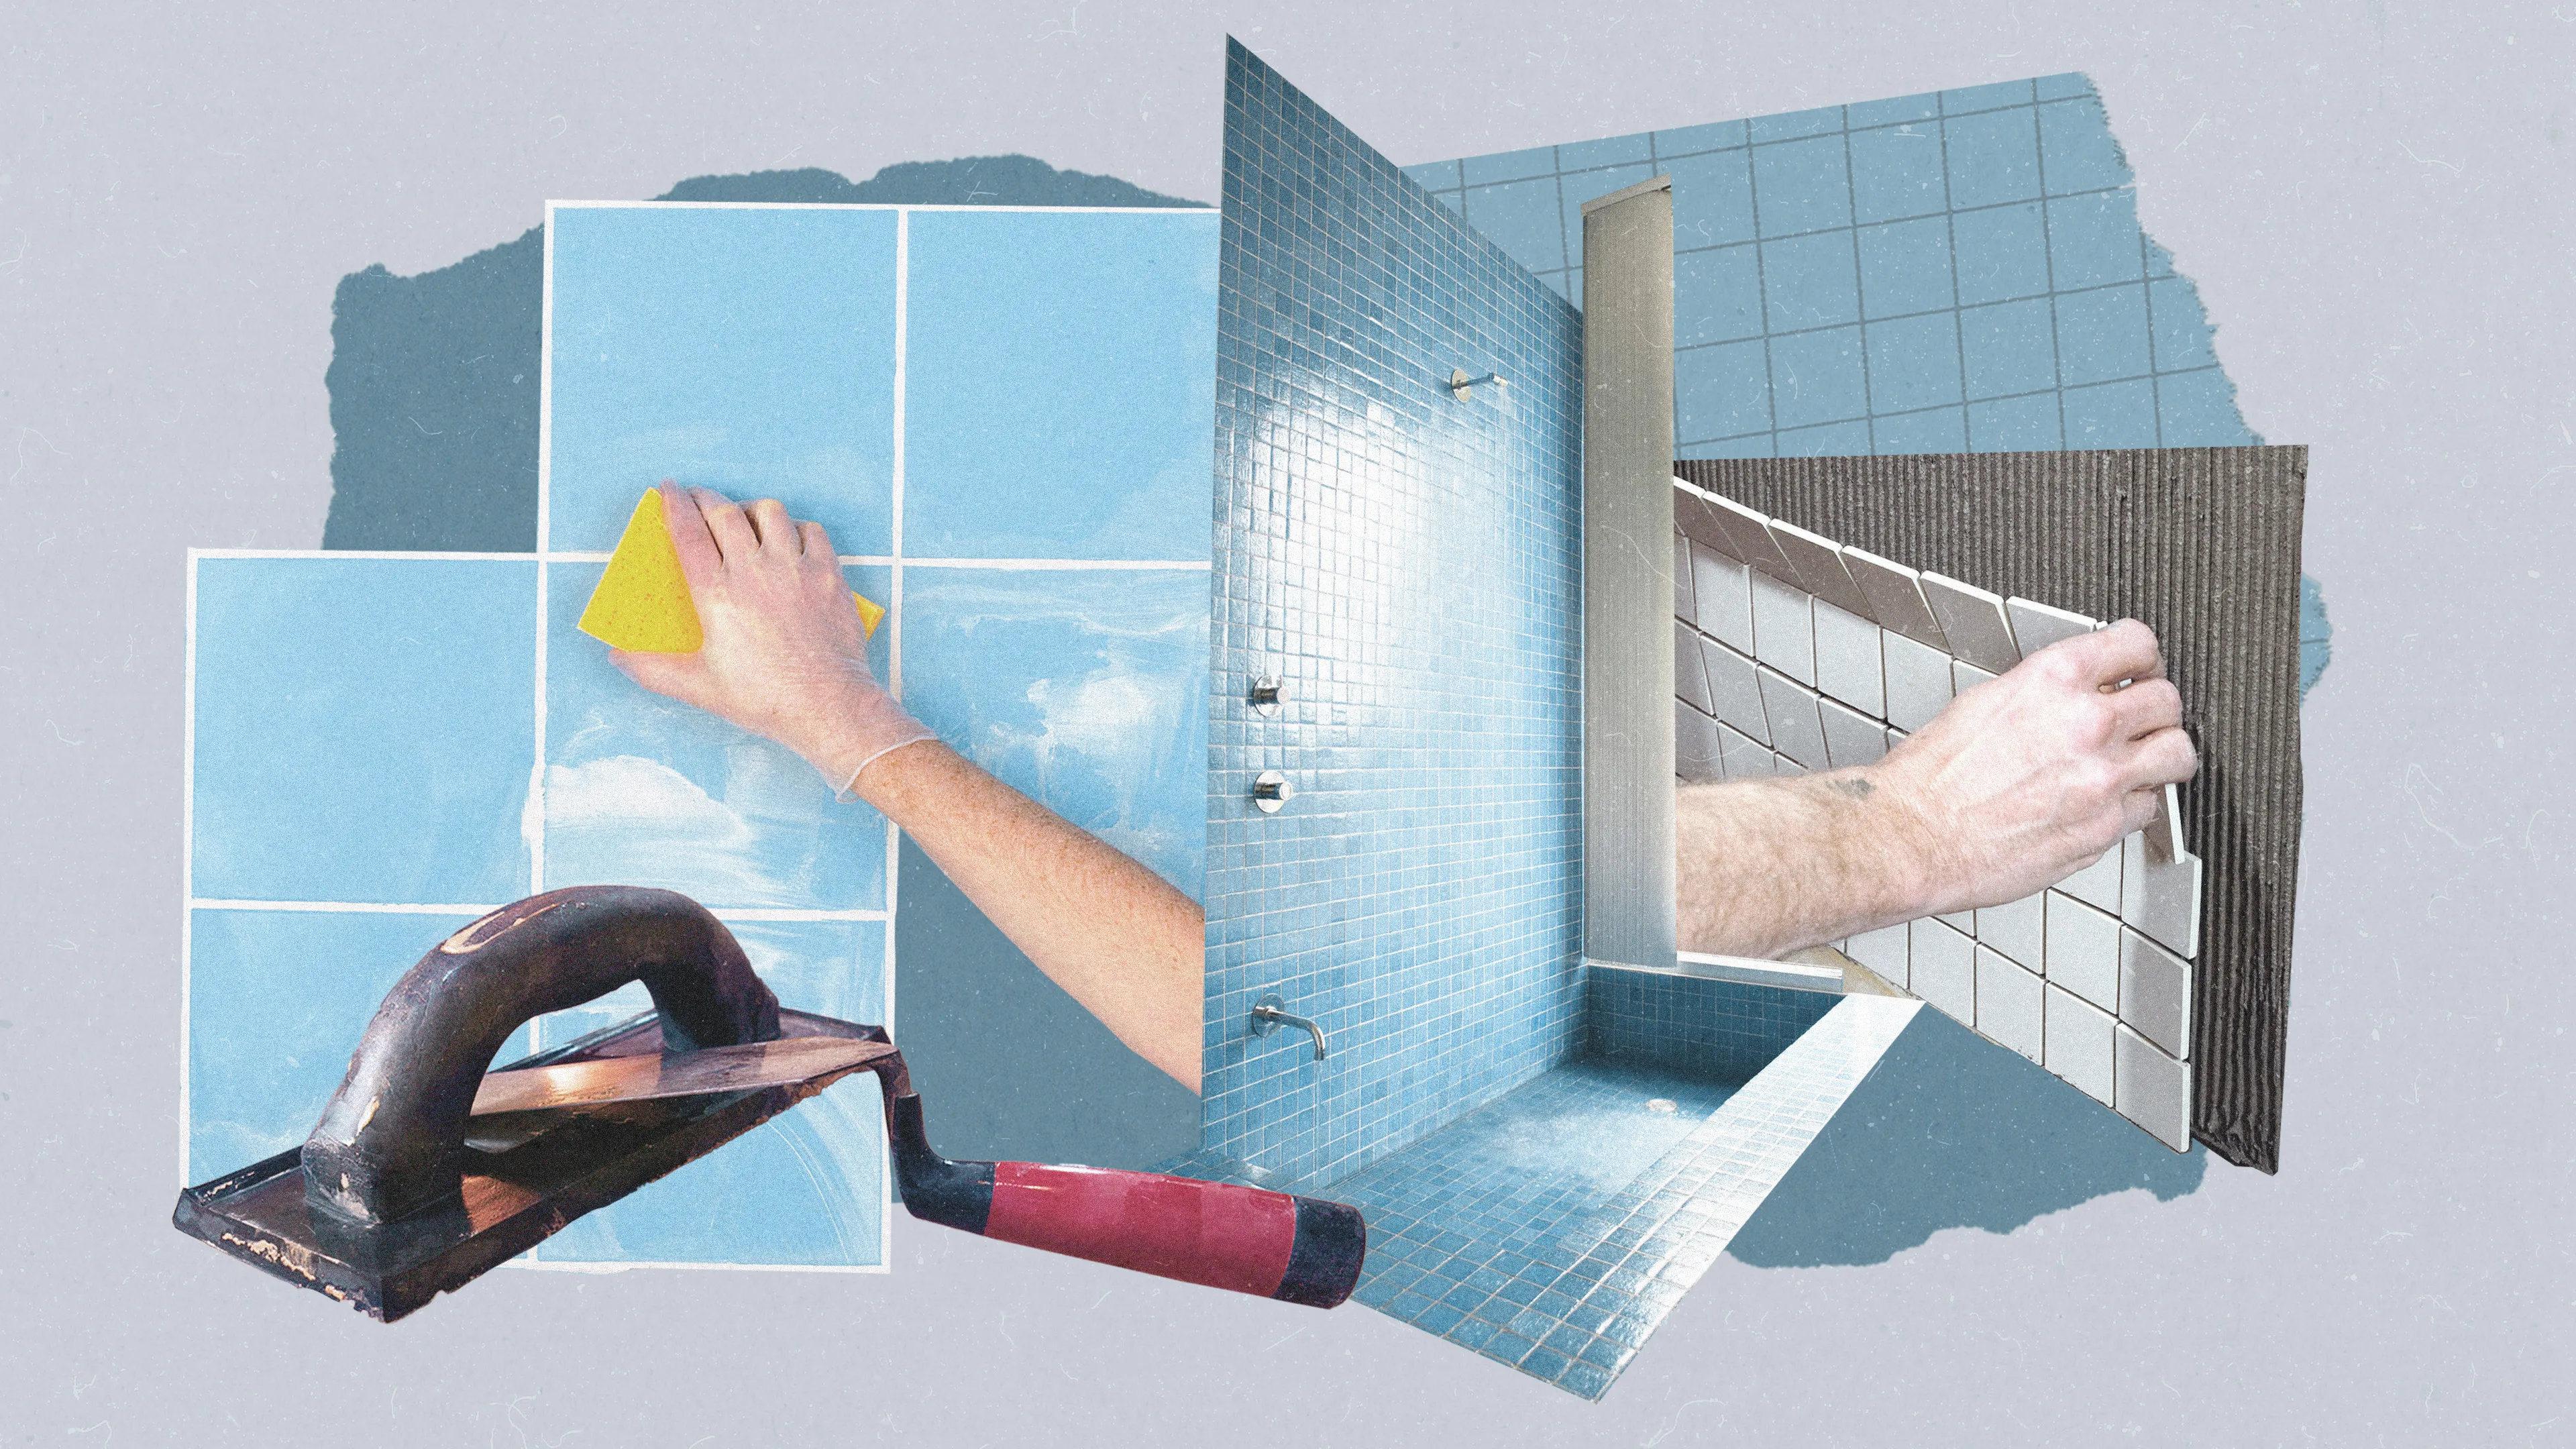
Repairing Cracks and Chips
Use a repair kit containing epoxy or filler that matches your tile’s color.
• Clean the damaged area thoroughly.
• Apply the epoxy or filler to the crack or chip using a small spatula.
• Smooth the surface and let it dry completely.
• Sand lightly if necessary to match the texture.
Replacing a Broken Tile
If a tile is beyond repair, replacing it is the best option. Replacement tile, tile adhesive, grout, chisel, hammer, and sponge.
• Carefully remove the damaged tile using a chisel and hammer.
• Clean the exposed area to remove old adhesive and debris.
• Apply fresh adhesive evenly and press the new tile into place.
• Allow the adhesive to set, then apply grout around the tile.
• Wipe off excess grout with a damp sponge and let it cure.
5. Stain Removal Techniques
These tiles tend to develop stains with time, especially the kitchen and bathroom ones. Removing stains can come off effectively, depending on the type of stain:
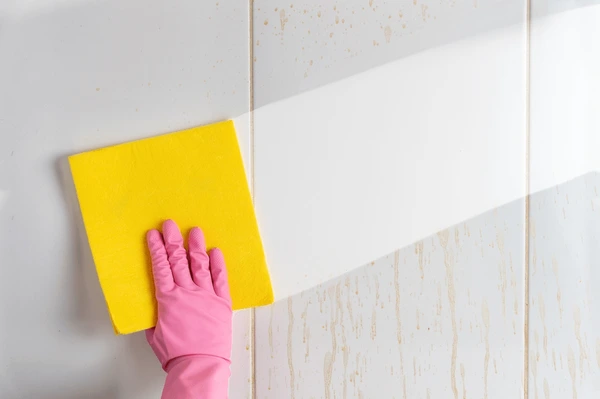
Grime and Grease: A mix of dish soap and water will generally do the trick. For tougher stains, use a scant amount of diluted vinegar.
Mold and Mildew: Apply the vinegar and baking soda mixture to the area concerned. Let this stay on for 15-20 minutes while occasionally scrubbing with a soft brush.
Hard Water Stains: Lemon juice is a natural remedy and quite effective in removing hard water spots.
Always test a small, inconspicuous area of the tile with any cleaning solution before full application.
6. Protecting Your Wall Tiles
Taking precautions will go a long way in ensuring that your wall tiles last longer. Here are ways to protect them:
Sealants Application: A clear sealant protects tile and grout against stains, moisture, and abrasion, particularly in humid areas of the house, such as bathrooms.
Avoid abrasive gadgets: gentle cleaning materials, such as microfiber cloths or sponges, to prevent scratching of tiles.
Dry the Surfaces: Wipe down tiles after cleaning or showering to prevent water spots and reduce the risk of mold growth.
These practices will maintain your wall tiles sleek and new for many years to come.
7. Seasonal Care for Wall Tiles
The wall tiles may be subject to seasonal changes and, in particular, where there is high humidity or extreme temperature conditions. Adjust the maintenance accordingly:
Winter Care: Winter humidity can be used in mold growth. Let there be proper ventilation, and clean the tiles from time to time so as to avoid dampness.
Summer Maintenance: Some tiles may discolor with prolonged exposure to direct sunlight, if applicable. Utilize curtains or blinds to reduce UV exposure, and check for fading or cracks caused by heat expansion.
Conclusion
Maintaining and repairing wall tiles doesn’t have to be a daunting task. With a little effort and the right techniques, you can keep your tiles looking pristine and your space feeling fresh. Regular cleaning, addressing damages promptly, and using DIY-friendly tools and materials will save you time, money, and stress. Whether you’re dealing with a simple stain or a cracked tile, these tips empower you to tackle maintenance with confidence.
Investing in proper care not only enhances the beauty of your tiles but also extends their lifespan, ensuring your walls remain a standout feature in your home or commercial space. Take charge of your wall tiles today, and enjoy a space that’s as stunning as it is enduring!

